
You can still give your mom the best gift out there by converting her photos, movie film, negatives, video tapes, and other film formats to digital!
Be sure to check out our specials page for extra savings!
Teaching you fun and interesting things to do with your digital images. Whether it's highlighting a new app, or a tutorial on how to edit a photo, we want to help you make the most of your memories.

Visit our blog every Thursday when we will post a brand new thought or quote! What's the point of our 'Thursday Thought' feature? Because everyone could use a good one every now and then.
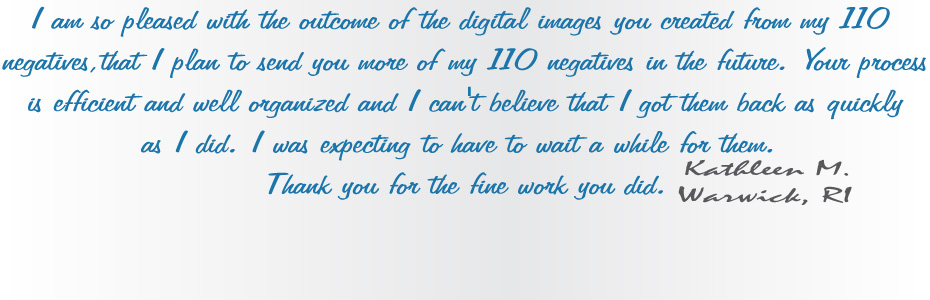
Want to see your raving reviews here? Comment on one of our social media sites, or email us at customerservice@larsendigital.com. We love hearing from you!

Your old film and photos can go through a lot. Whether they are extremely discolored, torn or ripped by a child, involved in a flood or accident, we want to fix it!
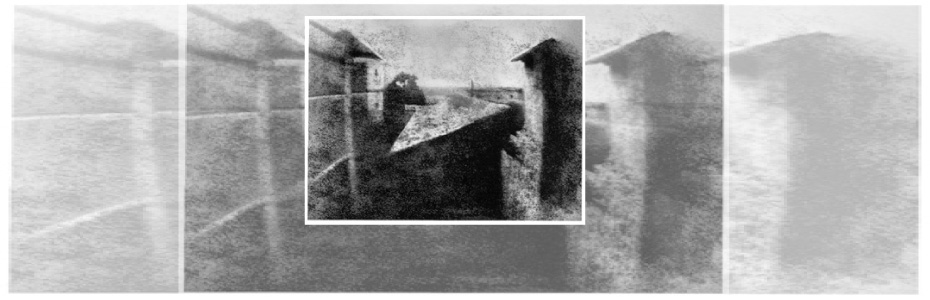
The world's very first photograph! We wouldn't have a business if the photography industry never progressed. It's amazing how far we come, and how advanced we continue to get.


 | 8mm Vintage Camera Review8mm Vintage Camera allows you to shoot vintage video in real time. You can take existing video on your iPhone or iPad and add a vintage overlay to it, or you can shoot live video.There are many vintage themes to choose from, such as, the 20's, 60's, 50's, Noir, Indigo and now Tuscan. |


+2.jpg)


|
Pros
|
Cons
|
|
Higher Megapixels on the market
|
Over Twice as Heavy
|
|
20x Lens
|
Lower Frames Per Second
|
|
Depending on the iPhone you choose, the
digital camera can be less expensive
|
Smaller LCD Screen Size
|
|
Unlimited Continuous Shot Mode
|
|
|
Image Stabilization
|
|
|
Predefined Shooting Options
|
|
|
Pros
|
Cons
|
|
Much lighter than a digital camera
|
Lower Megapixels Offered
|
|
Easier to take traveling
|
Lens’ must be purchased separately
|
|
Same HD Video Quality as a Digital
Camera
|
|
|
Higher Frames Per Second
|
|
|
Bigger LCD Screen Size
|
|


