Tips, Tricks, and Tutorials

Teaching you fun and interesting things to do with your digital images. Whether it's highlighting a new app, or a tutorial on how to edit a photo, we want to help you make the most of your memories.

Featured Thought

Visit our blog every Thursday when we will post a brand new thought or quote! What's the point of our 'Thursday Thought' feature? Because everyone could use a good one every now and then.

Customer Feedback

Want to see your raving reviews here? Comment on one of our social media sites, or email us at customerservice@larsendigital.com. We love hearing from you!

Digital Photo Makeover

Your old film and photos can go through a lot. Whether they are extremely discolored, torn or ripped by a child, involved in a flood or accident, we want to fix it!

Check This Out!

The world's very first photograph! We wouldn't have a business if the photography industry never progressed. It's amazing how far we come, and how advanced we continue to get.

We pride ourselves in our track record since we started business back in 1995. We have always made sure that each and every one of our customers is treated with professionalism along with a personal touch. We're proud to be the most trusted source of slide and negative scanning in North America. We are located beneath the snow-capped peaks of Mount Ben Lomond in Pleasant View, Utah. Pleasant View is 45 miles north of Salt Lake City, host of the 2002 Winter Olympics. All work is done in house here in Utah. We do not outsource any work out of the country like many other companies do.

Wednesday, April 24, 2013

What are YOU giving Your Mom this Mother's Day?


You can still give your mom the best gift out there by converting her photos, movie film, negatives, video tapes, and other film formats to digital!

Be sure to check out our specials page for extra savings!

Monday, April 22, 2013

How We Help Out On Earth Day


Here at Larsen Digital Services, we are in the business of taking your physical film memories and converting them to a digital format.  There is no longer a need to take your film in to make prints, or to shoot video through a camcorder!  Save the paper and plastics for your next dinner party and keep all your life's favorite moments in digital form.

Bring in your legacy of memories whether they are on photo prints, movie film reels, audio tapes, or any other film format, and we can convert it to digital!  This enables you to view your memories whenever you want, wherever you want.  It also limits the hassle of looking for photo albums for that "one certain picture" or pulling out projectors to view old film.  

We are in the digital age, and your memories are best stored that way as well.  Not only does it help the Earth by reducing the paper and plastic used, but it helps your film stick around longer.  Once your slides, negatives, or other films are converted to digital, they are no longer susceptible to deterioration or degradation. The quality will not change.  You also have the ability to easily share your favorites with family and friends through email or social media.

Help us help the Earth by going digital with your memories!

Thursday, April 18, 2013

Be Your Mom's Favorite By Giving the Gift of Digitized Film!

Hi blog readers!  My name is Christa, and I am a contributor to the Larsen Digital Blog. Let me start out by telling you that I grew up in a family with 6 kids, and I was the fifth.  To make things even more interesting, the 5 oldest siblings were all girls, with our youngest sibling being the lone boy.  Needless to say there was lots of drama, laughter, fighting, and joy.  

I don't think I need to tell you that girls like attention, and they like being the best!  Such was and still is the case in my family.  It was very common (almost too common) for us each to claim that we were "the favorite" child.  You want to know who truly was the favorite?  I'll give you one guess...  ME!  Why am I the favorite you might ask?  Well I'm sure that most parents can agree that different children are their favorites for different reasons.  One helped around the house more then the others.  Another always got straight A's and is in medical school to be a brain surgeon.  Well I'm the favorite because I gave them a gift that will always be remembered and never be forgotten.  Last Christmas I gave my parents a hard drive chock full of all our family photos and videos.  Top that siblings!  

The reason this was such a great gift and catapulted me to the top is because memories bring such emotional feelings.  Who watches their old home movies and doesn't either smile or reflect on good times?  No one.  Ever.  Time passes us but once, and after that the seconds are gone, but when you can remind people of past memories through photos and film you get to re-live those moments again.

It's not enough to make a beautiful scrapbook gluing old photos to pretty paper.  What you need is to convert them to a digital form.  That way they are reminded of the great life they have lived, all while allowing them to view those moments whenever, wherever.  What better way is there to tell your mother you love her and how glad you are to have had her in your life, than to show you interested you are in her life and what made her who she is.  

I have been apart of the Larsen Digital Memory Preserving Team for over 6 years now.  Through this career I have gotten to know people and families through their photos and film, and I know that converting old film to digital can bring families closer together.  I am proud to work for a company that believes in keeping all our work in the United States, rather than outsourcing them.  I love that at Larsen Digital, our customers truly come first, and our lines of communication are always open to ensure that those that send in their priceless film get the information they want and the respect they deserve.

If you want to give your mother the best gift on the planet this Mother's Day, consider converting her film to digital, and remind her of the great moments that have and continue to make up her life.  It is a gift that you won't regret, and one that will leave her smiling, and probably even crying!


(My mom - isn't she beautiful?!)

Wednesday, April 10, 2013

15% OFF any Print Digitzation Order!


Get your discount today!  Order Now

Tuesday, April 9, 2013

Mother's Day DIY Photo Gifts:Large Photo Sign

 This Large Photo Sign can be customized to any personality or to any generation of photos.  While we used photos taken in the last year, this project would look great with photos from the 80's, or even a collection black and white photos from even earlier.

Large Photo Sign
Preparation Time: 40 minutes
Total Time: 1 hour

Items Needed:
  • Roughly 30 4X6 photos, or 50 smaller photos.  It is better to have too many than not enough.
  • Large piece of wood.  We used a 12" X 48" piece of particle board.  You can use regular plywood but the particle board was much cheaper.  We got our wood from Lowe's and cut it ourselves, but Michael's has pre-cut wood pieces that would work for this project.
  • Mod Podge.  We used the matte style for this project.
  • Sponge Brush
  • Wooden Letters.  You can find these at your local craft store or even Walmart.  You will want to keep the word short and sweet to ensure it will fit on the board.  You can place your letters vertically or horizontally depending on your preference.  You can choose a word such as love, hope, family (horizontally), etc.
  • Acrylic Paint

Instructions to make this beautiful Photo Sign:

1-   Lay out your photos onto the piece of wood to determine the layout you want and how many photos you will need to use.


2-   After laying all your photos out where your heart desires place a good layer of mod podge on the back of the photo and place the print back in it's spot with the glued side facing down.  Continue this process until all the photos have been glued on.


3-   After all your photos are glued and in place, put a generous layer of mod podge over the pictures.  This puts a sealing coat over all the photos.  Make sure to put the layer on evenly to ensure you don't get any "gloopy" spots or bubbles.


4-   Let your sign sit until the mod podge dries.  while this is drying we can get your letters ready!


5-   Paint your letters the color you desire.  Make sure you get in the sides and in all the nooks and crannies. We needed to put two coats of paint on our letters to ensure even coverage.


6-   After the letters and the mod podge on the sign have dried, superglue the letters in place where you want them to go.  After the glue has dried, voila!  You have a beautiful attention getting, memory ridden, sentimental photo sign that would make any mom happy.


Monday, April 1, 2013

Mother's Day DIY Photo Crafts: Tile Coasters

So you've converted all your film and photos to digital, and we say that the possibilities are endless now that they are in digital form, and this month we are going to explore some fun things you can do!  Mother's Day is coming up fast, so why not make sentimental Mother's Day gifts out of your digitized memories?  What better way is there to tell your Mom how much you care than showcasing photos of her and your past!

First project of the month: Photo Coaster Tiles.  
These are so extremely easy and fast to make.  
Prep Time: 10 minutes
Dry Time: 30 minutes
Total Time: 40 minutes

Items Needed to Create these Photo Tile Coasters:
  • Photos from your past - Do NOT use the originals if you haven't digitized them yet!!  Make sure they are in digital form first, and then we recommend printing a second copy at your local printing shop.
  • Mod Podge.  We used the matte style for this project
  • Sponge Brush for Mod Podge Application
  • Coaster Sized Tiled.  We got these ones from Lowe's.  You will want 1 tile per photo.
  • Cork or Foam backing circles.  You know, the things that you put on the bottom of chair legs?
  • Last but not least...  a snack!!  Who doesn't like some good old Peanut M&M's?  


Steps to creating this fabulous DIY photo Mother's Day Craft:

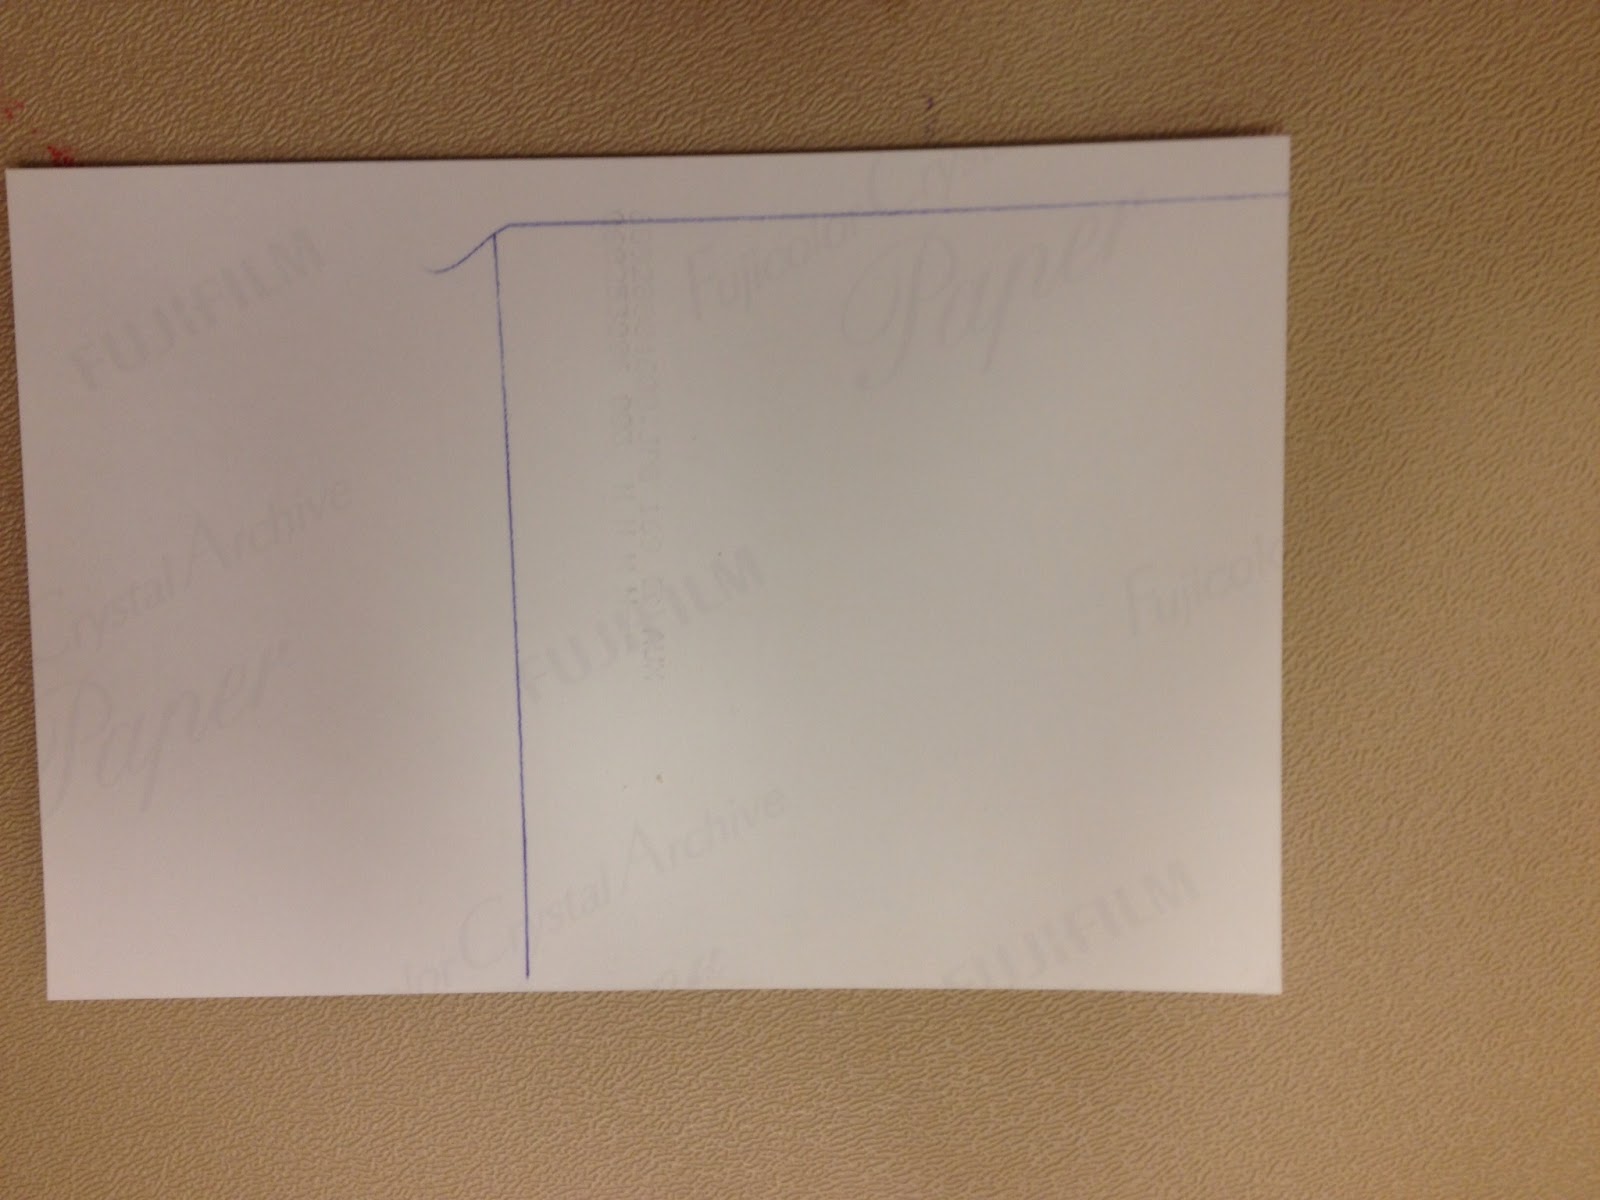
1- Cut your photos to the correct size so they fit on the tile with a little bit of room to spare on each side of the photo.  I put the tile against the back of the photo, placed it off just a bit to account for the extra room, and traced around the tile.  I then cut along my traced line.  Make sure that you get the focal points of your photo on the tile!


2- Using the sponge brush, apply a thick layer of the Mod Podge on the back of your photo.  Make sure you cover the entire surface of the back of your photo.  After you apply this layer, you will place the photo face up on top of one tile.


3-After placing the photo on top of the tile, snap an M&M in your mouth, and while you are chewing place another layer of Mod Podge on top of the photo.  Make sure that as you are spreading that you are going to the very edges of the photo, and even onto the tile.  This layer seals the photo onto the tile and makes it as one.  While you want a decent layer of Mod Podge on top of your photo, make sure that it is not goopy to ensure that you don't get clumps of dried Mod Podge on the final look.  Once you have made sure it is even spread and smooth, set the tile to the side to dry!


 4-  Let your tiles sit untouched for about a half an hour, and then check on them until they are dry.  The photo below will show the tiles right after the top coat of Mod Podge is on the picture, so you can still see some of the glue.


5- Enjoy your mother's reaction as you give her a gift to remember!  In the photo below, you will see another set of coasters we made using 70's-80's photos.  You can literally use any kind of photo on these beautiful photo tile coasters and it will draw an emotional feel.


We really loved making these photo tile coasters, and hope you enjoyed reading our tutorial!  It is a great, cheap, and sentimental gift that you can make yourself for Mother's Day.  You might want to give a tissue along with the tiles as there might be a couple of tears shed.