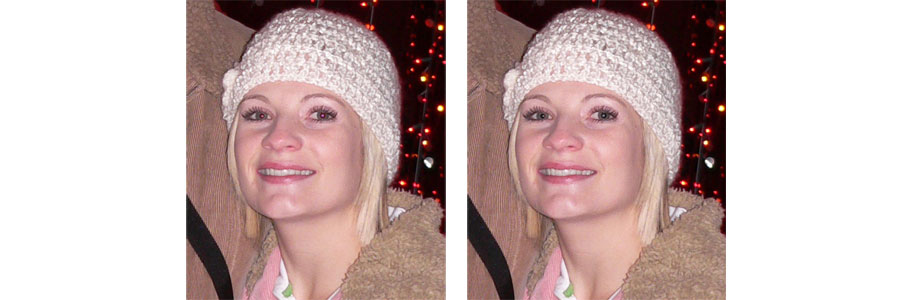
Red eye is an annoying and common problem with photos when taken using a flash. Luckily fixing red eye is extremely easy using PhotoShop.
Red Eye Removal Step 1:
Once you have your digital image opened in PhotoShop you will want to zoom in on the eyes. Your zoom tool is located on the left side panel, it looks like a magnifying glass.
Red Eye Removal Step 2:
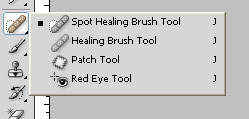
Next you will want to select your Red Eye tool. It is located on the left side panel. It is grouped with the healing tool which looks like a band aid. 
Red Eye Removal Step 3:
If you left click & HOLD you will see a drop down with four different tool options.
Select the bottom, which is the Red Eye Tool.
Select the bottom, which is the Red Eye Tool.
Red Eye Removal Step 4:
With the Red Eye Tool selected you will want to go to your eye and click & drag the box around the eye. This tool will automatically correct the red eye.

While the Red Tool is selected, if you look at above your top tool bar on the left you will see two settings you can change which is Pupil Size & Darken Amount. If you don't like how your corrected red eye looks, you can adjust those settings.


0 comments:
Post a Comment